Pre-Requisites
This installation requires you to have a set up Business Central environment and the appropriate permissions to both access the Microsoft AppSource as well as install 3rd party extensions into your BC environment. If you're unsure how to gain permission to install extensions, please contact your business central system administrator.
A video version of MagiCapture setup is available here:
Installing the Fidesic Module
AppSource install
Log into the Environment in your BC Tennent that you will be adding the Fidesic Integration.
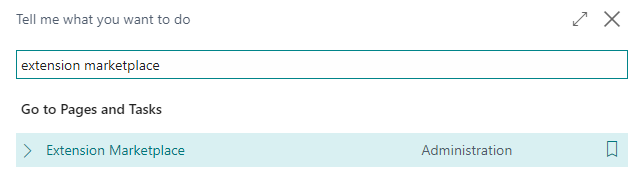
From BC Search, search for Extension Marketplace.
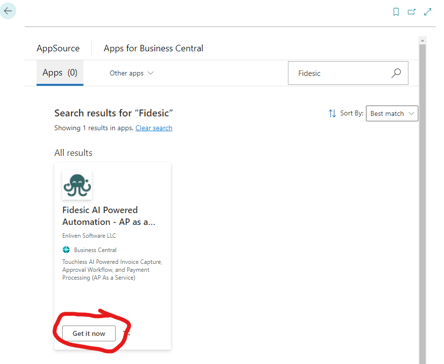
Once in the marketplace, search for Fidesic and select Get It Now.
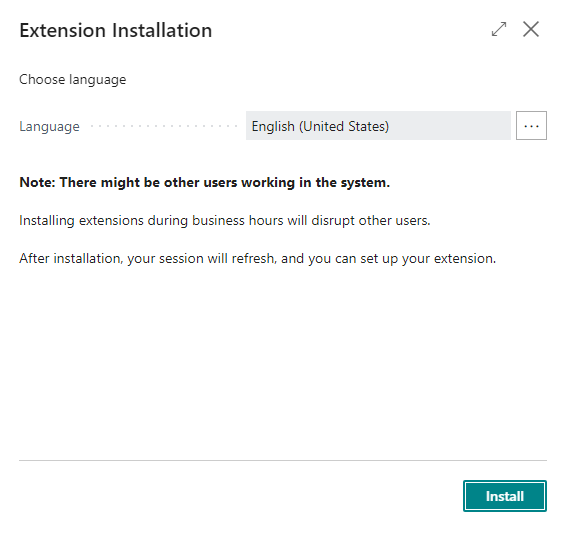
Follow prompts, and select Install. This process may take a couple minute to complete. If you wait for this setup to complete, it will automatically launch the wizard.
Starting the Fidesic Setup Wizard
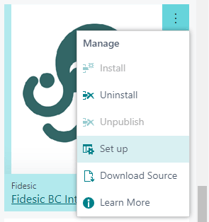
If it does start automatically, either search for Fidesic Setup Wizard in the BC Search Option, or select Set Up from the extension management page.
Step 0 - Account Creation
If you do not have an existing Fidesic Account, select I Need to Set up an Account.


This will auto populate with your email and company name. If you would like to modify this info, you are free to do so. make sure to select your product details and agree to the terms before creating your Fidesic account.
(note: before you can log into Fidesic you will need to validate this email, however you can complete the setup wizard prior to validation.
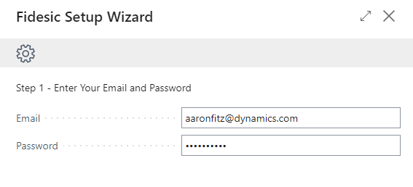
Step 1 - Login
Enter your existing email and password, or enter your newly created account's admin email and password. If you do not know your password, you can reset your password here.
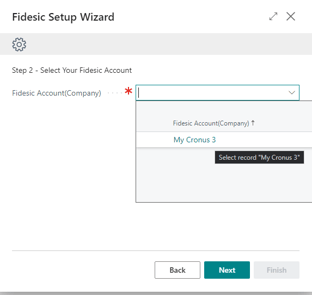
Step 2 - Company Selection
Select your Fidesic company that you would like to link to your BC company. Note: Make sure you are logged into the proper company in BC that you want to link to Fidesic.
Step 3- Select Dimensions
At this stage, you will pick what dimensions you'd like to sync with Fidesic. We'd recommend only syncing Dimensions that relate to accounts payable directly. If you are you using Binary Stream's Multi-Entity Management, you will be required to select your global dimensions associated with you MEM.
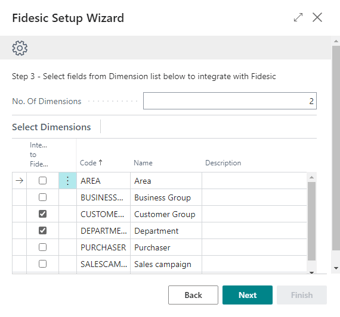
Note: Make sure number of dimensions matches the dimensions selected.
Initiate the Initial BC to Fidesic Data Sync
This sync will import the following data from BC into Fidesic. Simply click Next and this data will begin syncing in the background.

Validate your email and login to Fidesic
You've not completed the basic setup steps in BC, and you can now validate you email address and log into the Fidesic front end by navigating to app.fidesic.com and logging in using your validated email address.
Setting up Fidesic Sync Jobs to Run Automatically (Optional)
In addition to running the integration using Run Fidesic Jobs you can also setup Fidesic to sync automatically at your defined schedule.
To do so, navigate to Fidesic Integration Setup by using the BC search bar.
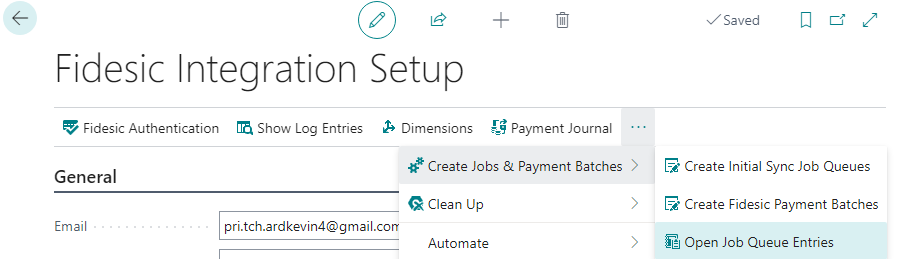
From this window select Open Job Queue Entries
Next, select the Sync Job you'd like to schedule

The most common sync jobs to schedule would be the following:
- Sync Vendor To Fidesic
- Sync Recurring Purchase Lines to Fidesic
- Sync Terms to Fidesic
- Sync COA to Fidesic
- Sync Dimension Metadata to Fidesic
- Sync Dimensions to Fidesic
By clicking on one of these jobs, you can schedule to to run on whatever schedule you'd like.
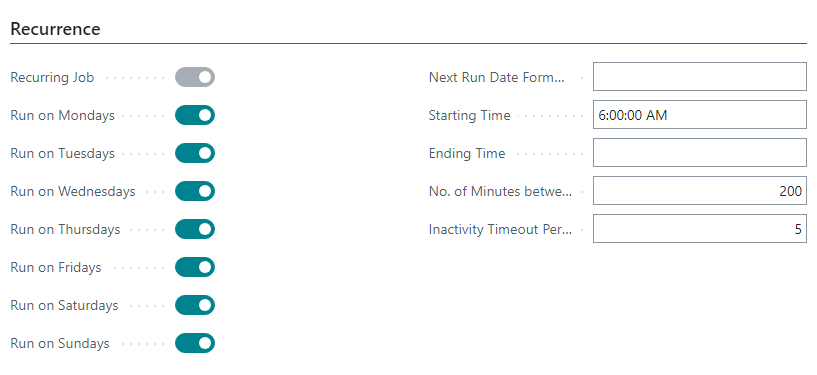
Make sure to Set Status to Ready on the job queue prior to exiting. Failure to do so means a job will not run on the schedule. Note, you need to set to a Hold status to adjust this schedule.
Permissions for Users (if necessary)
If you encounter this error on installation, you will likely need to modify your permission sets.

Full steps to correct linked here.
Upon setting up Fidesic in BC, we will automatically create permissions that can be assigned to users. To set this search for Permission Sets in your BC main search bar.

Fidesic Admin includes all permissions related to Fidesic.
Fidesic Common is an accountant type roll who is able to process transactions in Fidesic but not able to manage the Fidesic integration setup.
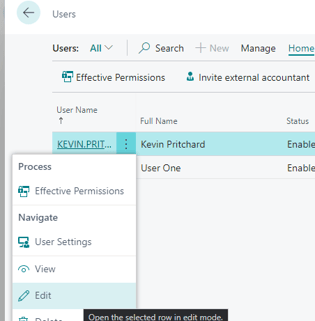
Search for Users in BC search and select Edit on the User you'd like to add Fidesic Permissions to.
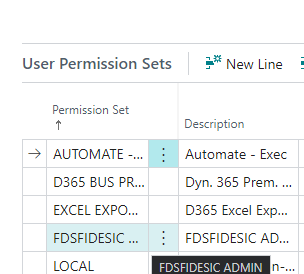
Add the appropriate Fidesic Permission to the User Permission Sets
Bulk Setting Fidesic Payment Method Code on Vendors (Payments only)
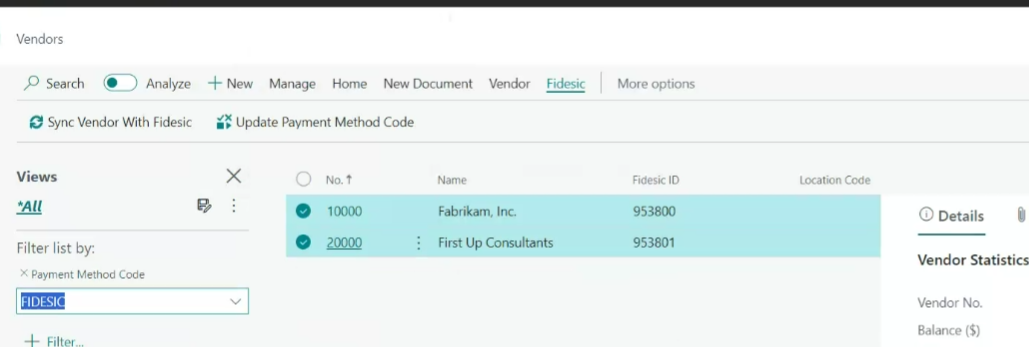
From the Vendors list page in BC you can bulk set Fidesic as the payment method code. This will enable all vendors set to this to be paid through Fidesic using the Fidesic Payment Journals Online payments process.
Select Fidesic under the ribbon, select multiple vendor records and click the Update Payment Method Code function. All vendors will be updated that were selected.
Pointing Fidesic to our Testing/Staging Site (for internal testing only)
If you have a test Fidesic account configured, you can point your BC environment to staging Fidesic. To do so modify the following URL from the Fidesic Integration Setup page to https://staging.fidesic.com/api

If you need help setting up a test account, please contact Fidesic directly for assistance.