![fidesic-logo-300px-2023-2.png]](https://help.fidesic.com/hs-fs/hubfs/fidesic-logo-300px-2023-2.png?height=40&name=fidesic-logo-300px-2023-2.png)
Integrations such as Vendor Sync, SmartConnect and other tools that connect to Fidesic sign in with an API key and its password. Anyone who has them can reach your account's data, so treat them like a password.
Who can do this: account owners only. If you can't see the API Keys page, ask one of your account owners.
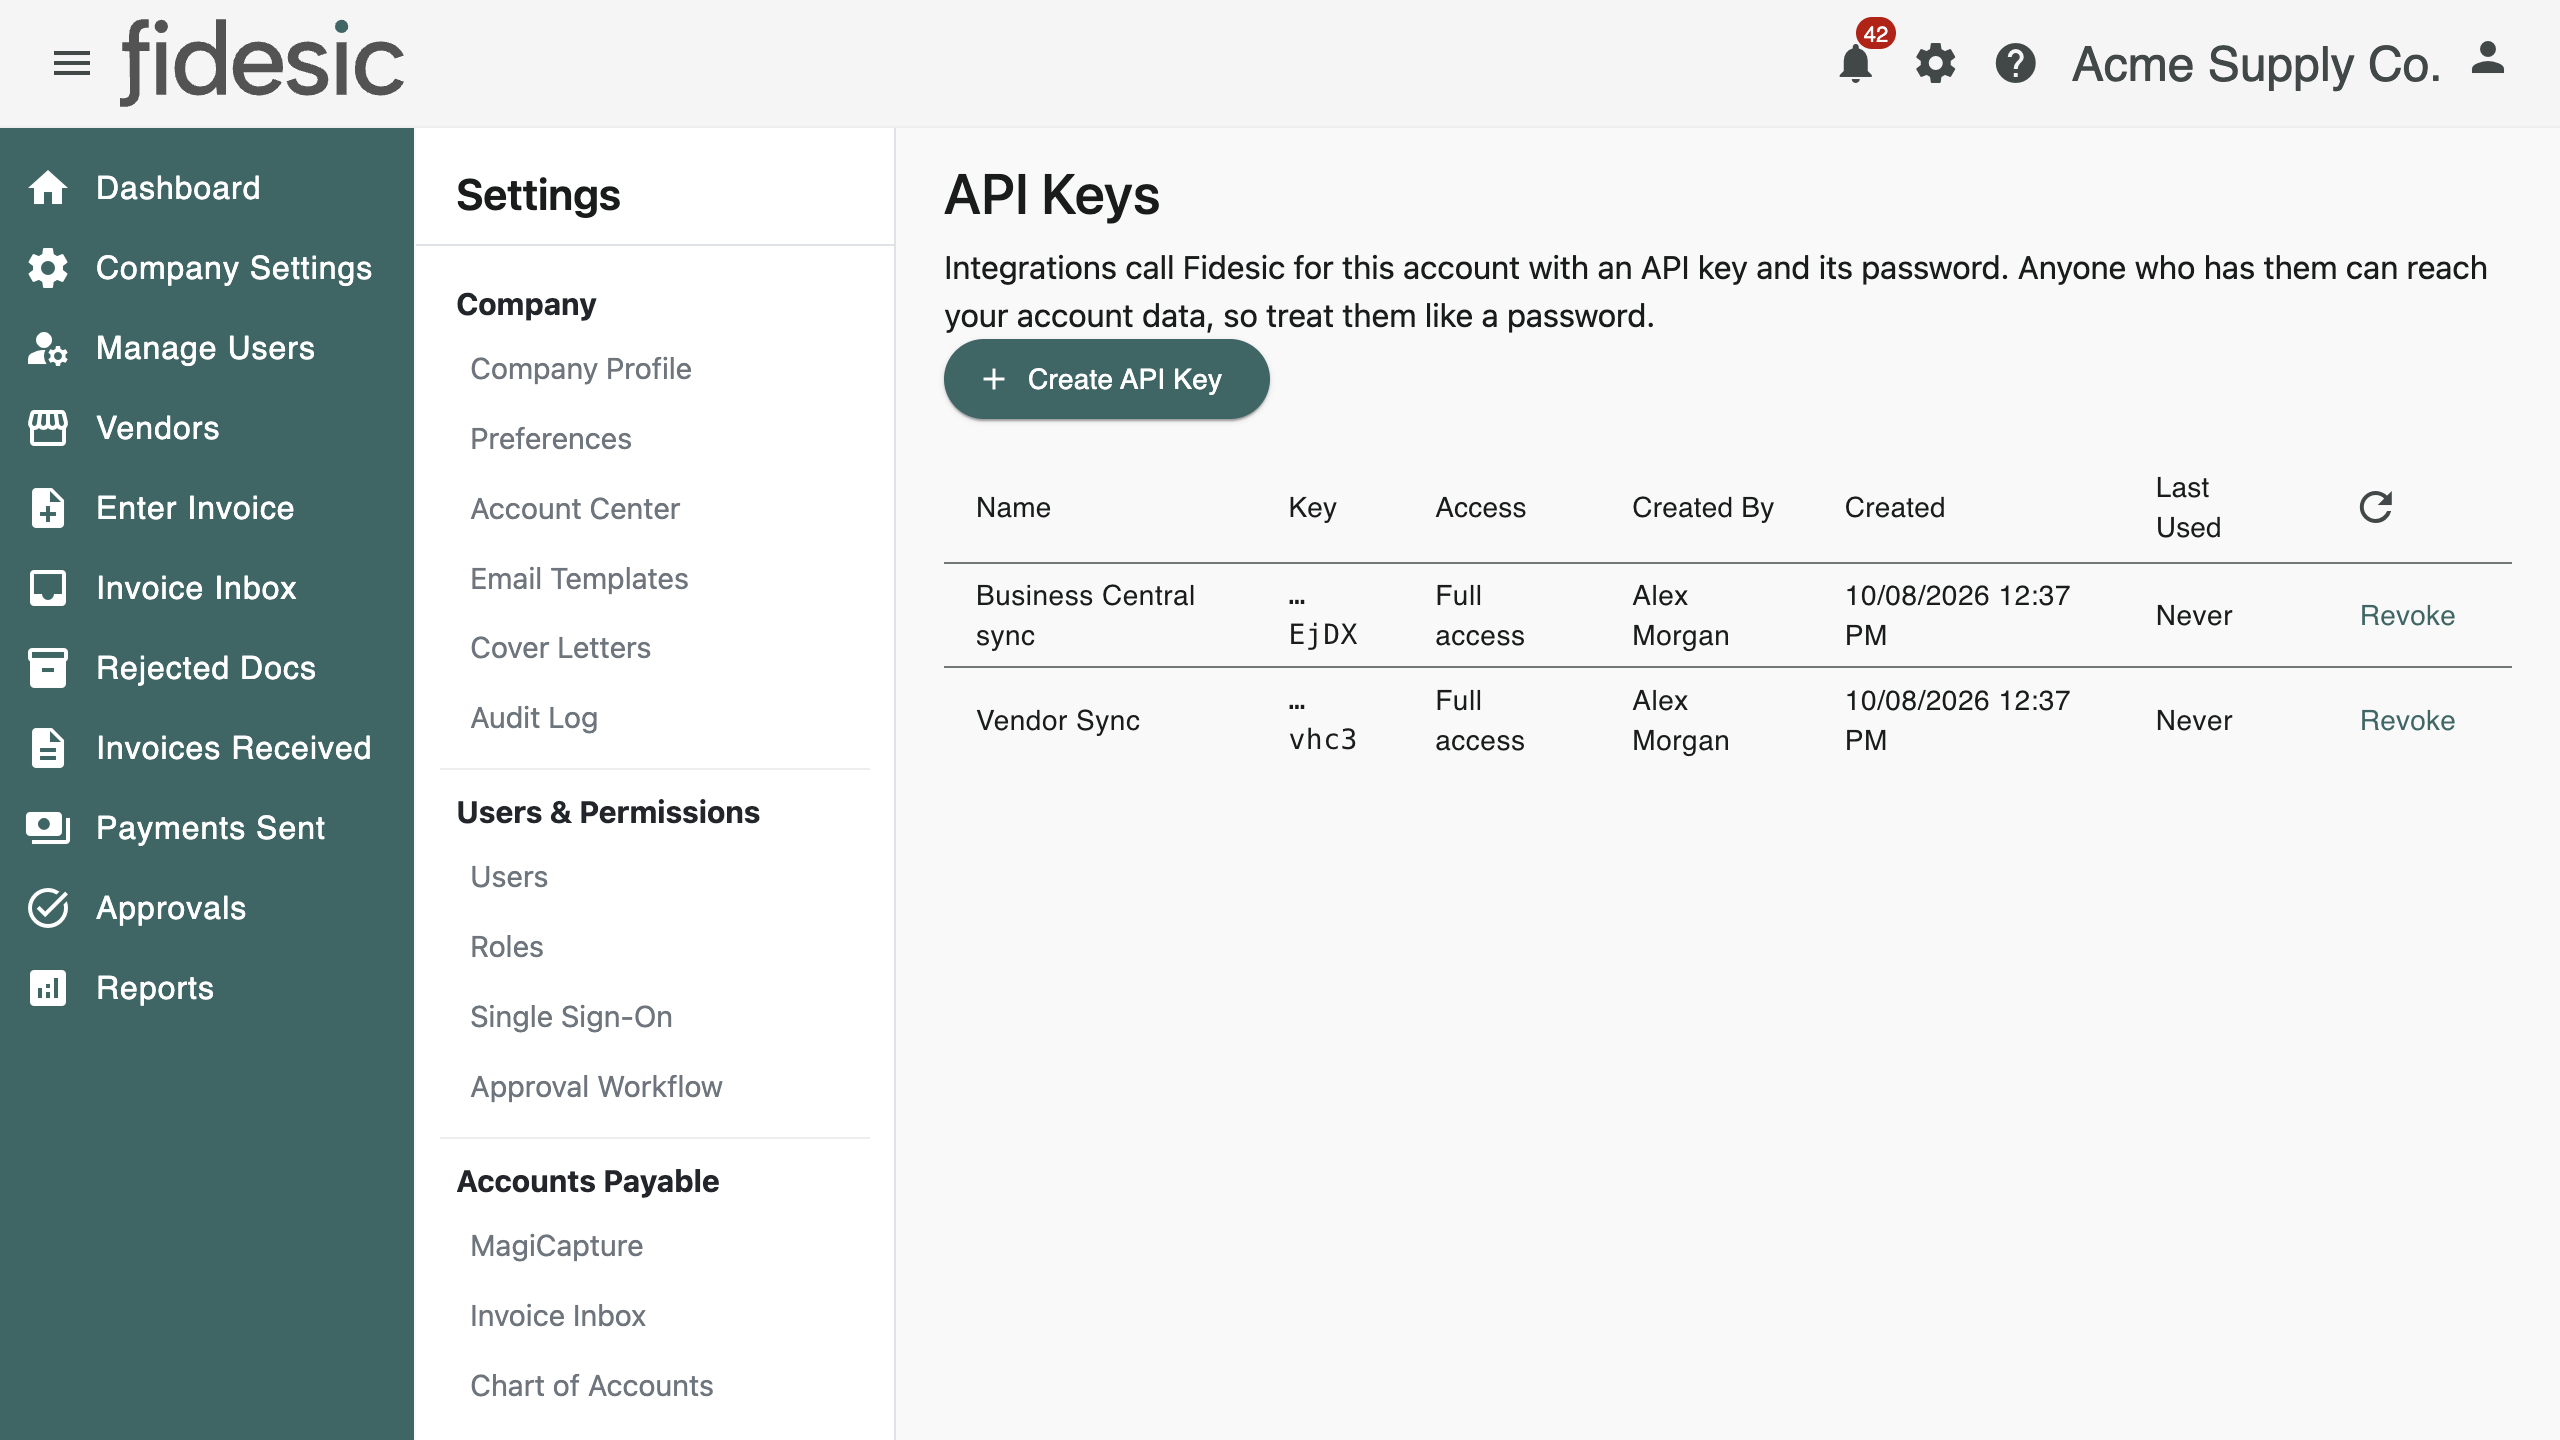
Finding the API Keys page
Go to Settings → Integrations → API Keys.
Creating a key
- Click Create API Key.
- Under Name, say what will use the key, for example "Business Central sync". The name helps you tell your keys apart later.
- Under Access, choose Full access, or choose one of your roles to limit the key to that role's permissions.
- Click Create.
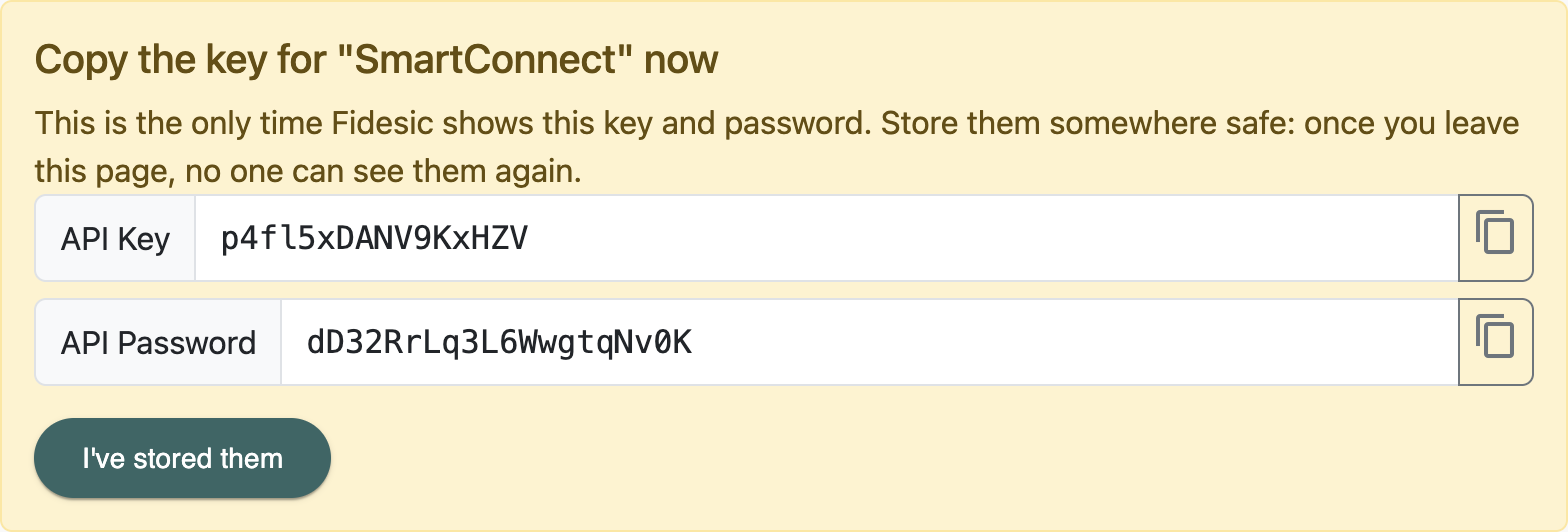
Fidesic shows the new API Key and API Password. Use the copy buttons to copy each one into your integration, or store them somewhere safe.
This is the only time Fidesic shows them. Once you leave the page, no one can see the key or password again, including Fidesic Support. If a key is lost, create a new one and update your integration with it.
When you have stored them, click I've stored them.
Reading the key list
Each key shows its Name, the last characters of the Key, its Access, who created it and when, and when it was Last Used and from what address. A key that hasn't been used in 90 days is marked Unused 90+ days, which makes old keys easy to find and revoke.
Your key from before this page existed is listed as Original key. It keeps working, but it can't be shown again.
Revoking a key
- Click Revoke next to the key.
- Confirm by clicking Revoke.
Anything still using the key stops working right away. This can't be undone.
Notifications and the audit log
Every account owner is emailed when a key is created or revoked. If you weren't expecting the email, revoke the key on the API Keys page and contact Fidesic Support. Both events also appear in the Audit Log as API Key Created and API Key Revoked.