Notifications
You will receive an email notification from notifications@fidesic.com when an invoice, or invoices require your approval. This notification frequency is customizable, so please contact your Fidesic admin if you would like to change this notification frequency. Example of a bached email below:

Once you've logged into Fidesic, The bell icon in the top right of the screen will let you know if you have any pending approvals:
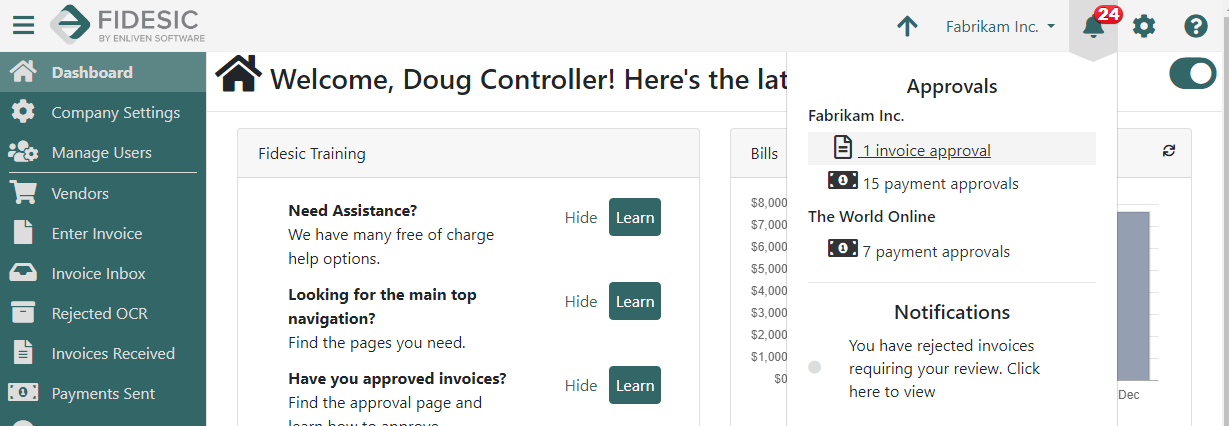
Click on that will take you to your unapproved invoices queue. You can also access this by using the left hand menu and clicking on "Approvals"
The Unapproved Invoices Page will queue up all invoices that currently require your approval. From this page you can view all basic invoice detail. You can access the following functions from this page:
- View Invoice Detail - Will take you to a detailed page about the invoice, from this page you can:
- Approve
- Void
- View/Add approvers
- View the PDF copy
- Adjust invoice details
- Add additional attachments
- Edit Invoice- This will take you to a similar page as invoice detail, however you'll be able to edit the invoice details.
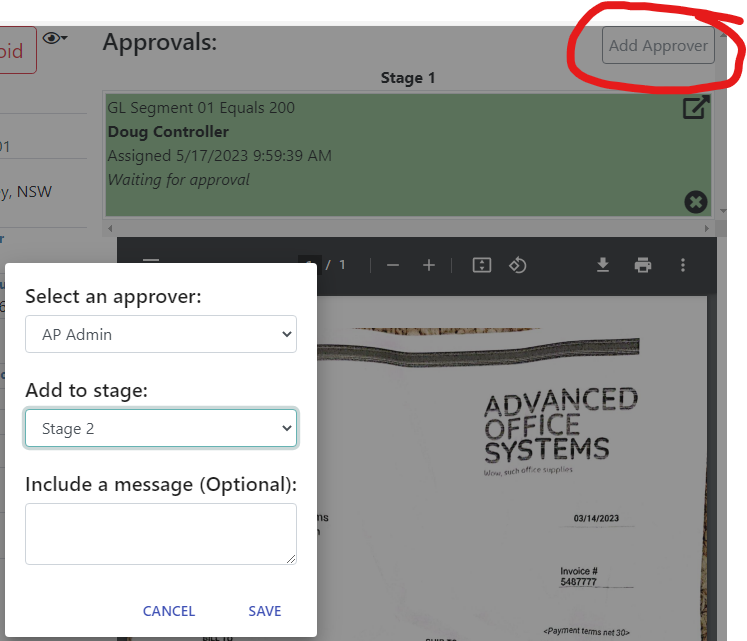
- Add Approver - This function (if available) will add additional approvers to the invoice
- Approve- This will send the invoice on to the next approver in the queue.
- Void - This will stop an invoice in it's tracks. AP will be notified that the invoice has been voided
- Approve Selected- Will approve all invoices that you have added a checkmark to.
- Void Selected- Will void all invoices that you have added a checkmark to.
- PDF Attachment Viewing- This will take you directly to the PDF. This can be saved or printed like any normal PDF

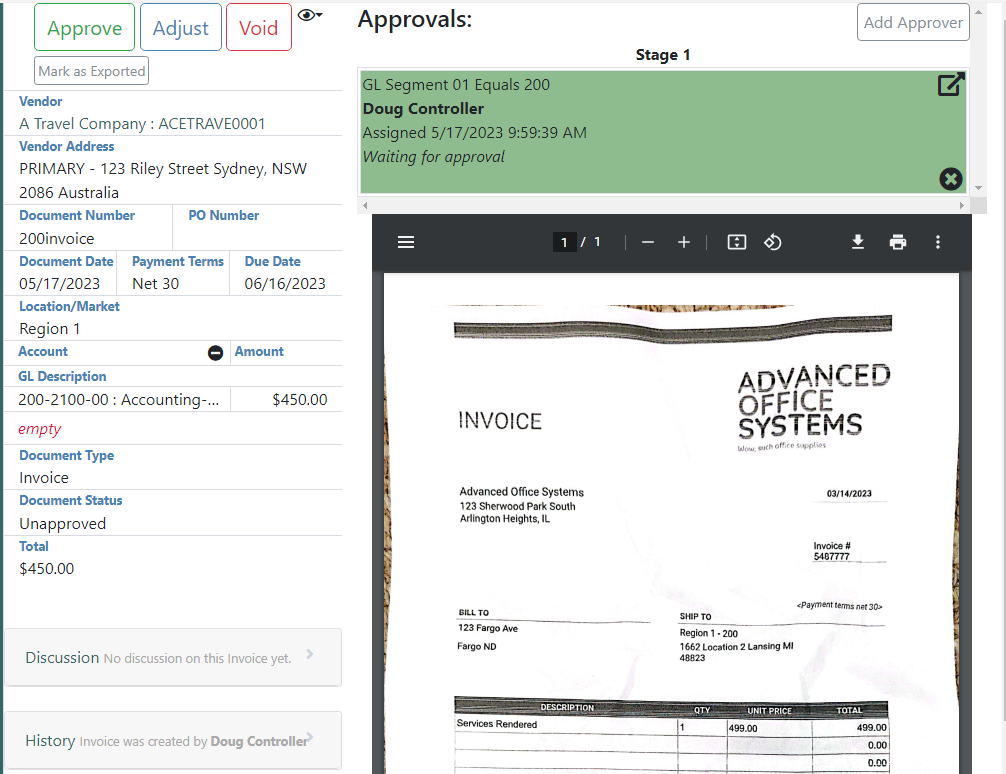
- View Invoice
- After choosing view invoice from the approvals page you will be able to:
- Adjust - This makes every field on the invoice capture become editable. Note, all changes will be logged on the invoice history.
- After choosing view invoice from the approvals page you will be able to:
-
-
- Void- This will stop an invoice in the approval process permanently. We will also notify the AP department that an invoice has been voided for their review. You'll keep a record of this invoice, but it will never sync to your ERP system.
- Approve- This will ask for approval notes, and send the invoice to the next approver in the workflow.
-
-
-
- Mark as exported- This function marks an invoice as sent to your ERP system.
- Add Approver- Adds an additional approver to this invoice. This can be done in line with the existing approver, or done as a separate stage.
- Approval Notes
- Will show changes made to the approval process
- Discussion
- In this section you can add any discussion text to the invoice, you also have the ability to tag a user using the @ function.

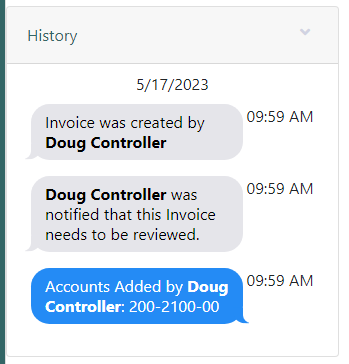
- History
- Shows all modifications and approvals an an invoice timestamped.
-
Tags: Invoice Approval, Approval, Approve, Authorize, Review Invoices